A well-protected home relies on more than just a sturdy roof. While shingles and siding get most of the attention, smaller components like soffits play a critical role in maintaining your home’s structural integrity and curb appeal. Proper soffit installation is essential for protecting your roof, ensuring proper ventilation, and preventing costly damage from moisture and pests.
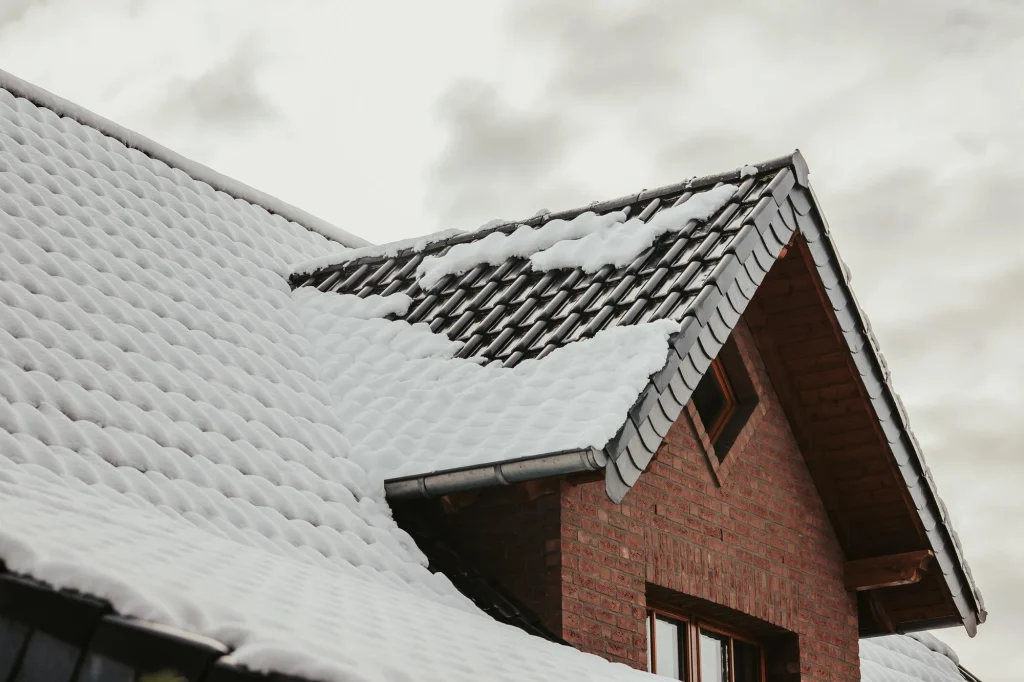
For homeowners in Minnesota and Wisconsin, where weather extremes are a constant challenge, understanding the importance of soffits is key to long-term home protection. This guide will walk you through everything you need to know about soffit installation, from the basics of what a soffit is to step-by-step instructions and maintenance tips.
Introduction to Soffit Installation
Soffit installation is a key part of creating a complete, high-functioning roofing system. Soffits cover the underside of your roof’s overhang, or eaves, and are vital for protecting your home from the elements while allowing it to breathe.
Why Soffits Are Essential for Every Home
Soffits are a fundamental component of your home’s exterior. They protect the rafters from weather, regulate airflow in the attic, prevent structural issues caused by moisture, and ultimately enhance your home’s durability. A properly installed soffit system is a proactive investment in your property’s health and longevity.
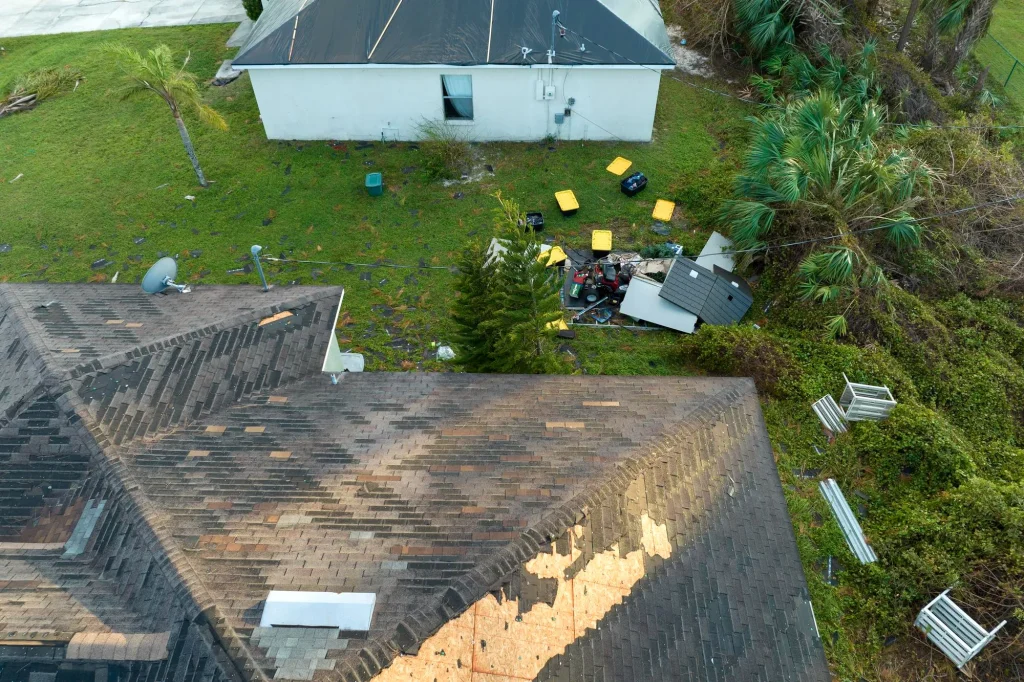
Common Problems Caused by Missing or Damaged Soffits
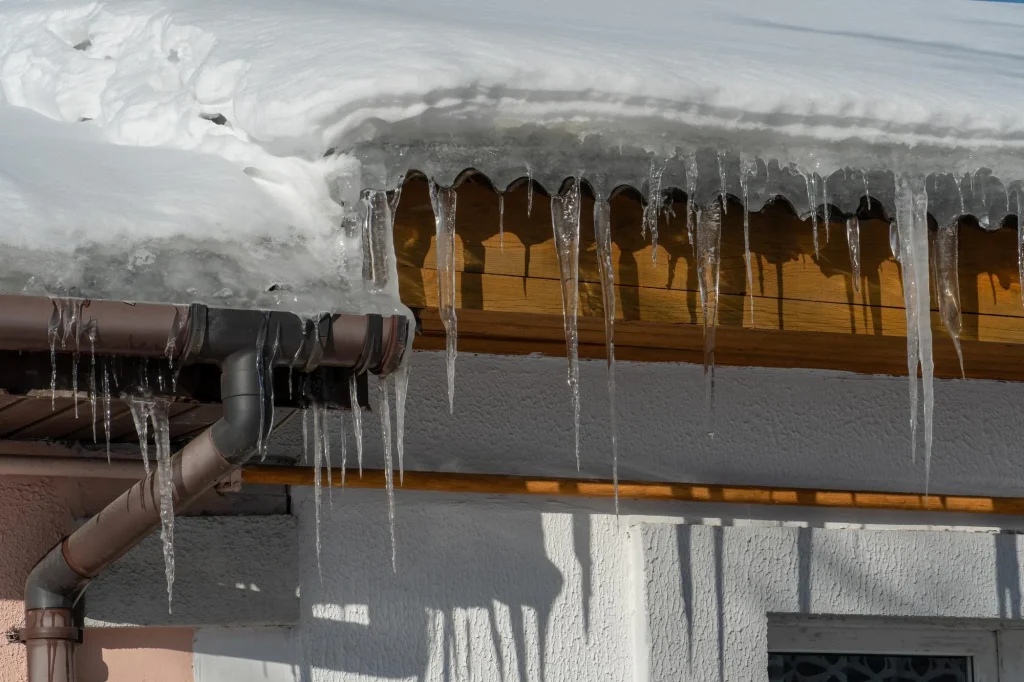
Neglecting damaged or missing soffits can lead to serious problems. Without this protective barrier, your home is vulnerable to moisture buildup, which can cause mold and rot in the attic and roof structure. Pests like birds, insects, and rodents can also find their way into your eaves. Furthermore, poor attic ventilation from faulty soffits can lead to higher energy bills as your HVAC system works harder to regulate temperatures.
What Is a Soffit and How Does It Work?
Before we learn how to install soffit, it’s important to understand what it is and its function within the larger roofing system.
1. Definition of a Soffit
A soffit is the finished material covering the underside of a roof overhang. It connects the edge of the roof to the exterior wall, providing a clean, finished look while protecting the structural components of the eave from the elements.
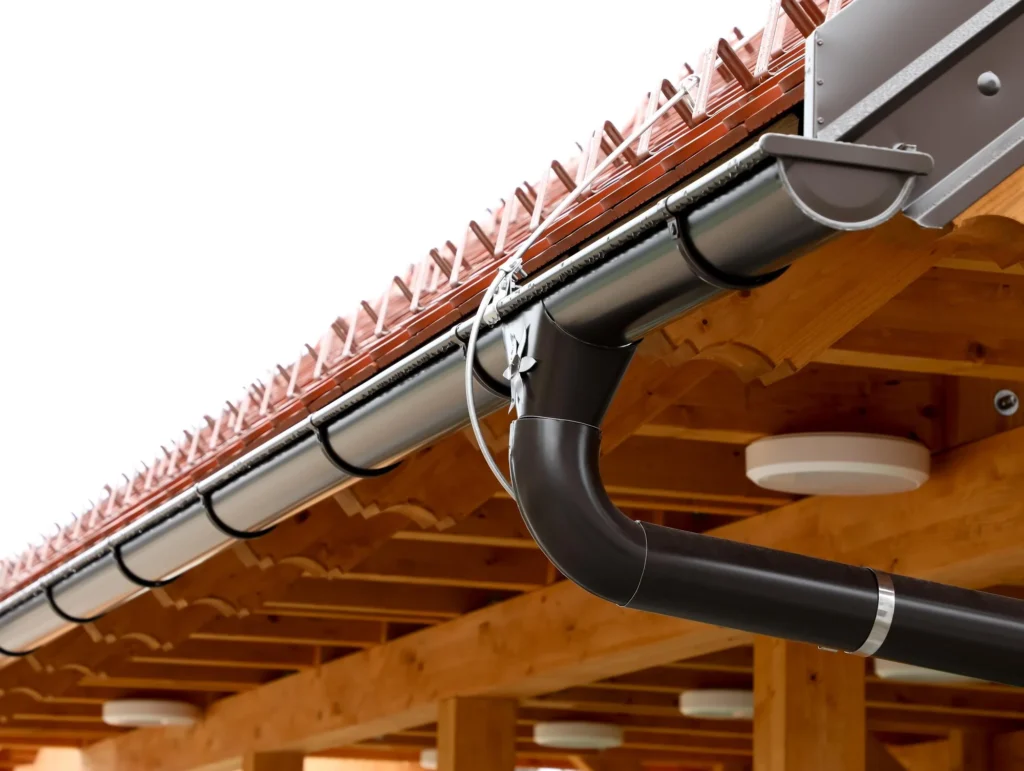
2. Parts of a Roof System Connected to Soffit
Soffits work in tandem with other parts of your roof to create a protective shield.
- Fascia: The fascia is the board running along the roofline to which the gutters are attached. The soffit panel fits between the fascia board and the house siding.
- Eaves: The eaves are the edges of the roof that overhang the face of a wall. Soffits cover the underside of the eaves.
- Gutters: While not directly connected, gutters run alongside the fascia and soffit, directing water away from the foundation. Properly installed soffit and fascia are crucial for a functional gutter system.
3. Types of Soffit Materials
Choosing the right soffit material is crucial for durability and aesthetics.
- Vinyl Soffit: Popular for its affordability, low maintenance, and wide range of colors. Vinyl soffits are resistant to rot and insects, but can become brittle in extreme cold.
- Aluminum: Lightweight, durable, and resistant to rust and moisture. It doesn’t crack or rot, but can be dented more easily than other materials.
- Wood Soffits: Offer a classic, natural look but require regular maintenance, including painting or staining, to prevent rot and pest damage.
- Fiber Cement: Extremely durable and resistant to fire, insects, and rot. It is heavier and often more expensive but provides exceptional longevity.
Key Functions of Soffit
Soffits do more than just improve your home’s appearance. They perform several vital functions that protect your property.
Ventilation and Airflow
Vented soffit panels are critical for attic ventilation. They allow cool, fresh air to enter the attic, which then pushes hot, moist air out through vents in the roof. This constant airflow is essential for a healthy home.
Moisture & Mold Prevention
By promoting airflow, soffits help prevent condensation from building up in your attic. This reduces the risk of moisture damage, wood rot, and mold growth, which can compromise your roof’s structure and affect indoor air quality.
Pest and Rodent Protection
Soffit panels seal the underside of the eaves, blocking entry points for pests. Without soffits, birds, squirrels, and insects could easily build nests in your rafters, causing damage and creating a nuisance.
Energy Efficiency and Temperature Regulation
Proper attic ventilation helps regulate the temperature inside your home. In the summer, it prevents heat from building up in the attic, reducing the strain on your air conditioning system. In the winter, it keeps the roof deck cold to prevent ice dams.
Exterior Aesthetic Enhancement
Soffits provide a clean, finished appearance to your roofline. Available in various colors and styles, they can be matched to your siding and trim to enhance your home’s curb appeal.
Preparing for Soffit Installation

Proper preparation is the key to a successful soffit installation project. Taking the time to plan and gather the right tools will ensure a smooth process.
Required Tools and Materials
You will need a measuring tape, circular saw or snips, a ladder, a drill, and a framing square. Materials include soffit panels, J-channels or F-channels to hold the panels, and the appropriate fasteners (trim nails or screws).
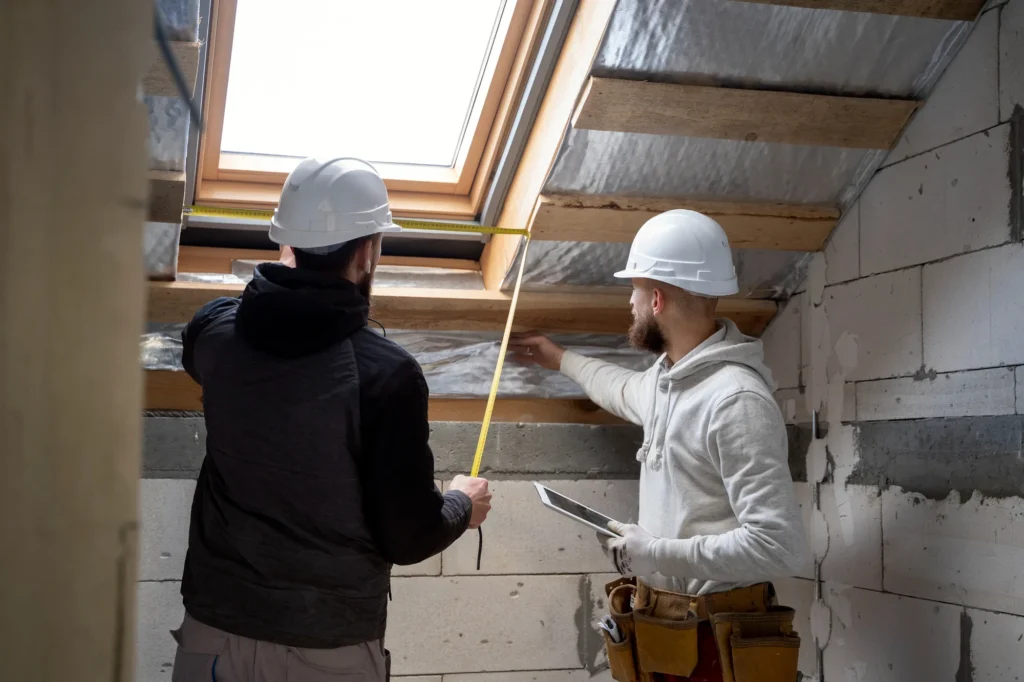
Measuring the Eaves and Planning Panel Layout
Accurate measurements are crucial. Measure the width of the eave from the wall to the fascia board and the total length of the areas you need to cover. This will help you determine how many soffit panels and channels you need to purchase.
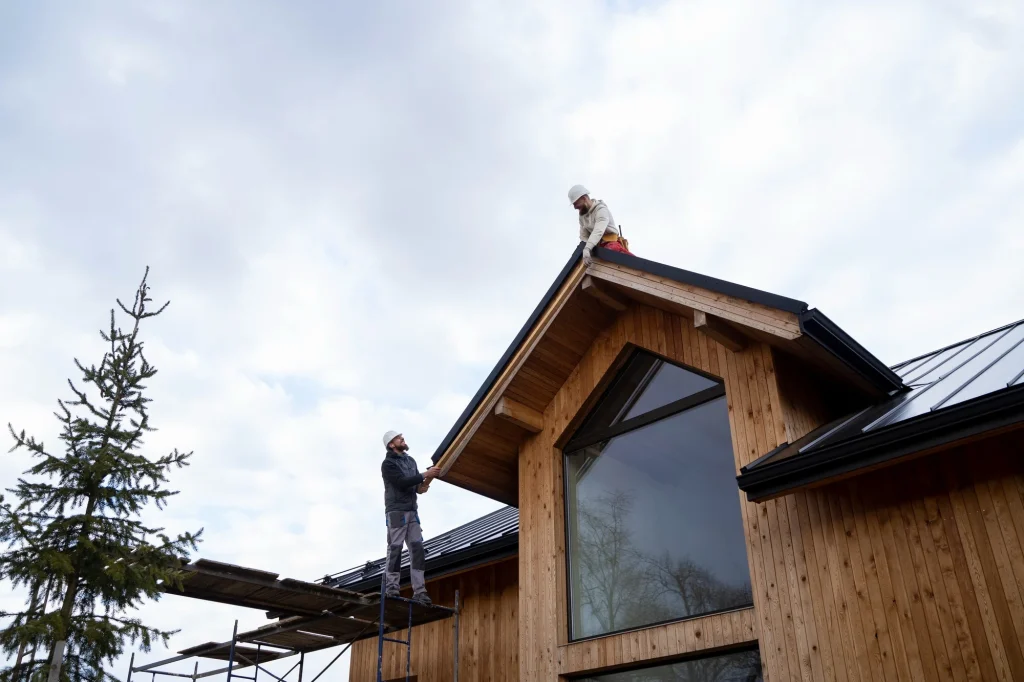
Safety Precautions Before Installation
Safety should always be your top priority. Ensure your ladder is stable and on level ground. Wear safety glasses and gloves, and be mindful of power lines. If you’re working at significant heights, consider using a scaffold and safety harness.
Step-by-Step Guide: How to Install Soffit
This step-by-step guide will show you how to install soffit panels for a professional-looking finish.
Step 1 – Remove Old Soffit (If Applicable)
If you are replacing an existing soffit, carefully pry it off. This is a good opportunity to inspect the underlying structure.
Step 2 – Inspect the Eaves and Rafters
Check the rafter tails and fascia boards for any signs of rot, mold, or insect damage. Make any necessary repairs before proceeding with the new installation.
Step 3 – Install J-Channels or F-Channels
Install receiving channels along the wall and the inside of the fascia board. These channels will hold the soffit panels securely in place. An F-channel is typically used against the fascia, while a J-channel is used against the wall.
Step 4 – Cut and Prepare Soffit Panels
Measure the distance between the channels and cut each piece of soffit to size, leaving about a ¼-inch gap for expansion and contraction, especially with vinyl soffit.
Step 5 – Fit Panels Into Channels
Slide the first soffit panel into the channels, ensuring it is snug. The grooves on the panels are designed to interlock for a seamless fit.
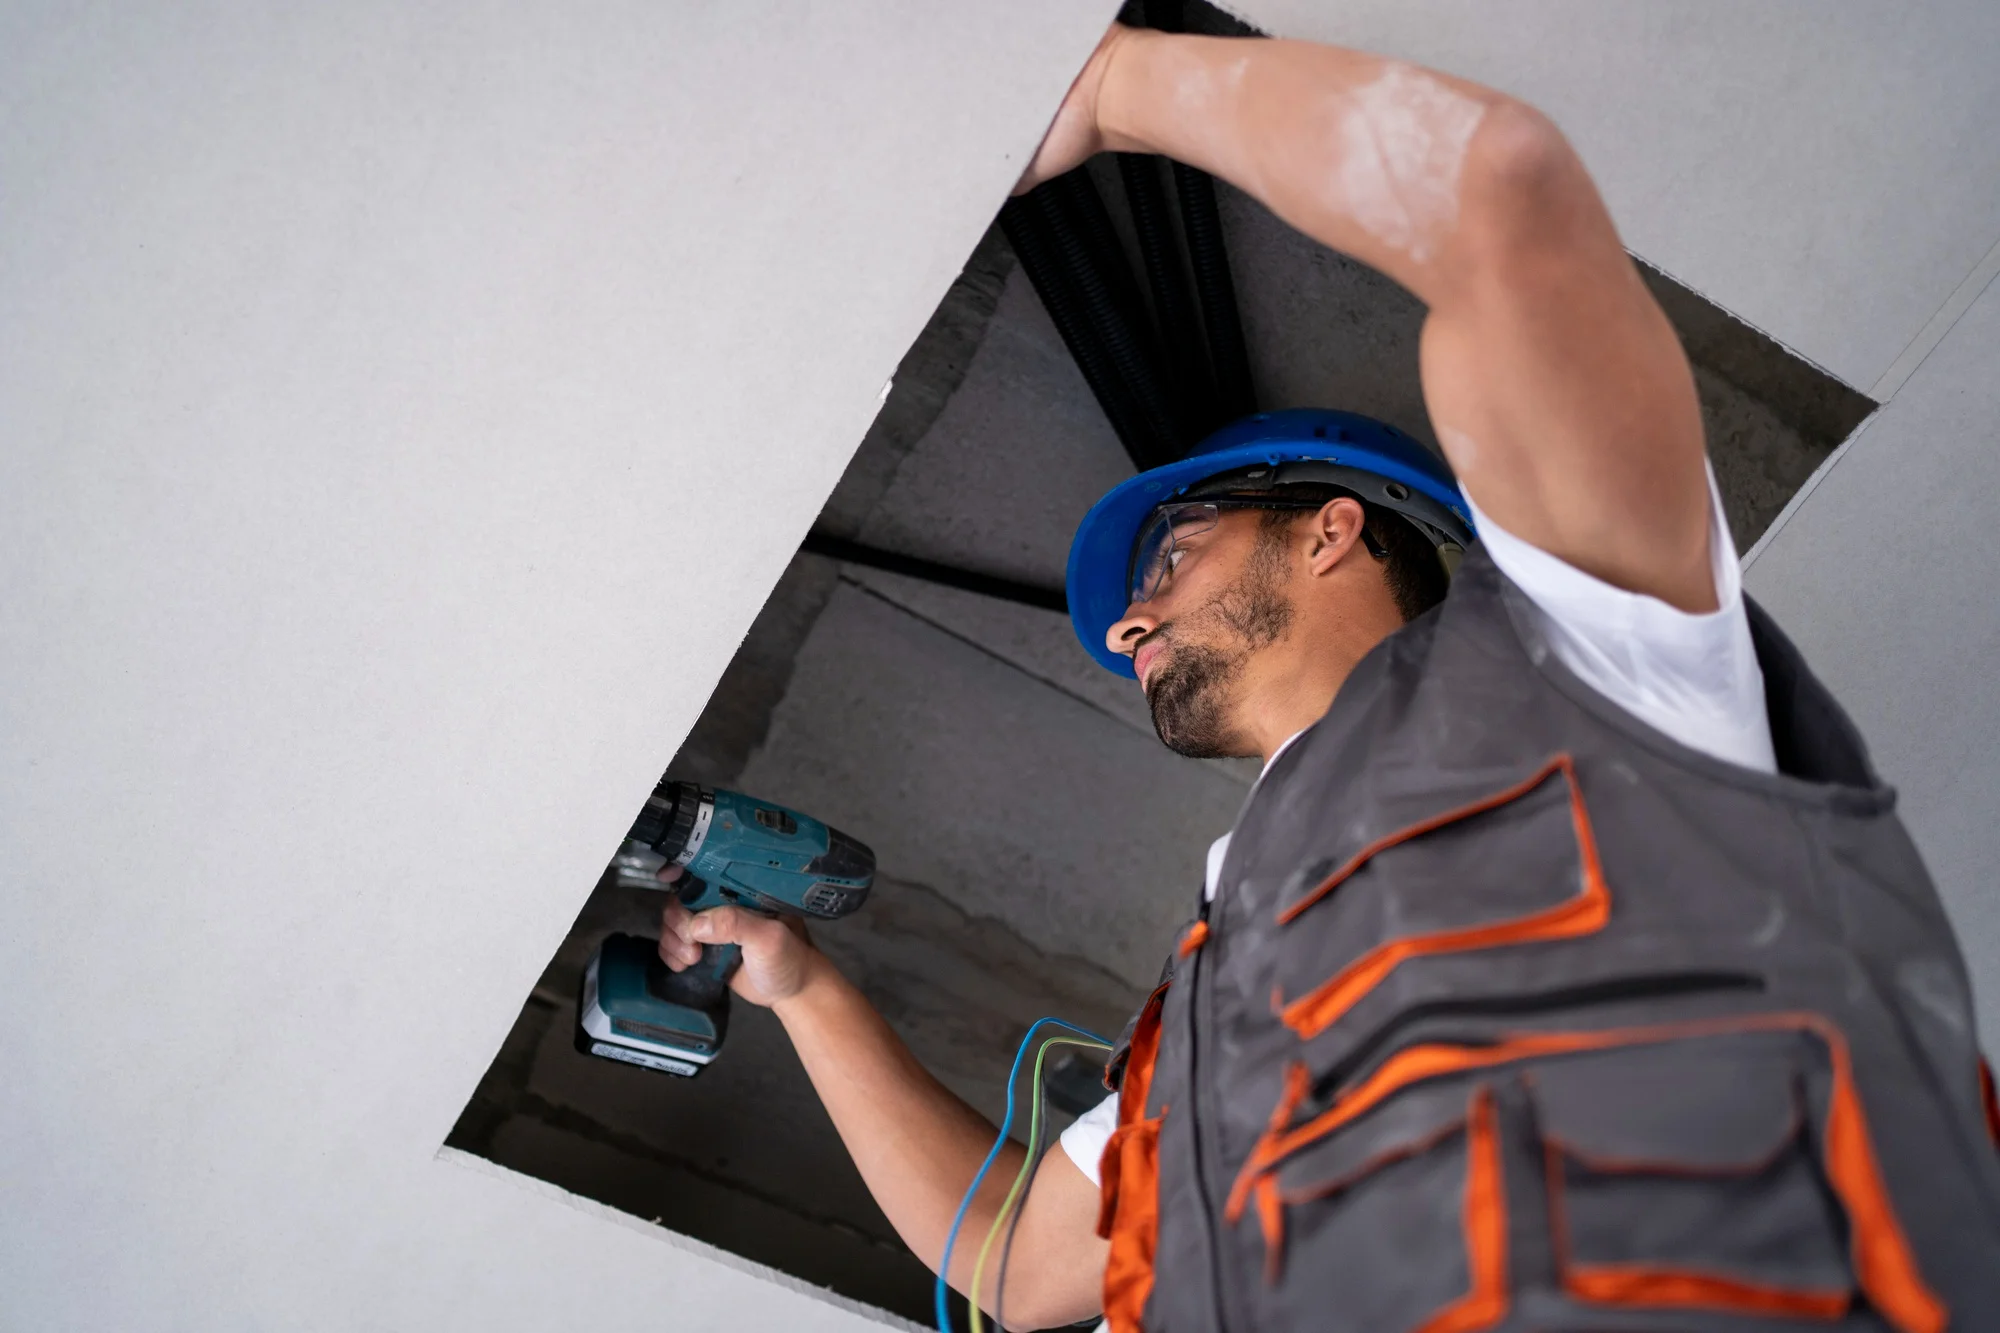
Step 6 – Secure Panels Properly
Fasten the panel to the wood framing using trim nails or screws through the nailing strip. Do not overtighten the fasteners, as this can cause the panels to warp.
Step 7 – Check Ventilation Openings
If you are using vented soffit panels, make sure the ventilation slots are not blocked by insulation or other obstructions to ensure proper airflow.
Step 8 – Final Inspection and Cleanup
Once all panels are installed, perform a final inspection to confirm they are secure and aligned. Clean up any debris from the installation.
Tips for a Successful Soffit Installation
Keep these professional tips in mind to achieve the best results.
1. Choosing the Right Material for Your Climate
For the harsh weather in Minnesota and Wisconsin, durable materials like aluminum or vinyl soffit are excellent choices due to their resistance to moisture and temperature fluctuations.
2. Ensuring Proper Ventilation Balance
For optimal attic ventilation, soffit vents should be paired with exhaust vents, such as ridge vents or gable vents. This creates a balanced system where cool air enters at the eaves and hot air escapes at the roof’s peak.
3. Avoiding Common DIY Mistakes
Common mistakes include cutting panels too short, over-tightening fasteners, and blocking vents. Always double-check your measurements and follow the manufacturer’s guidelines.
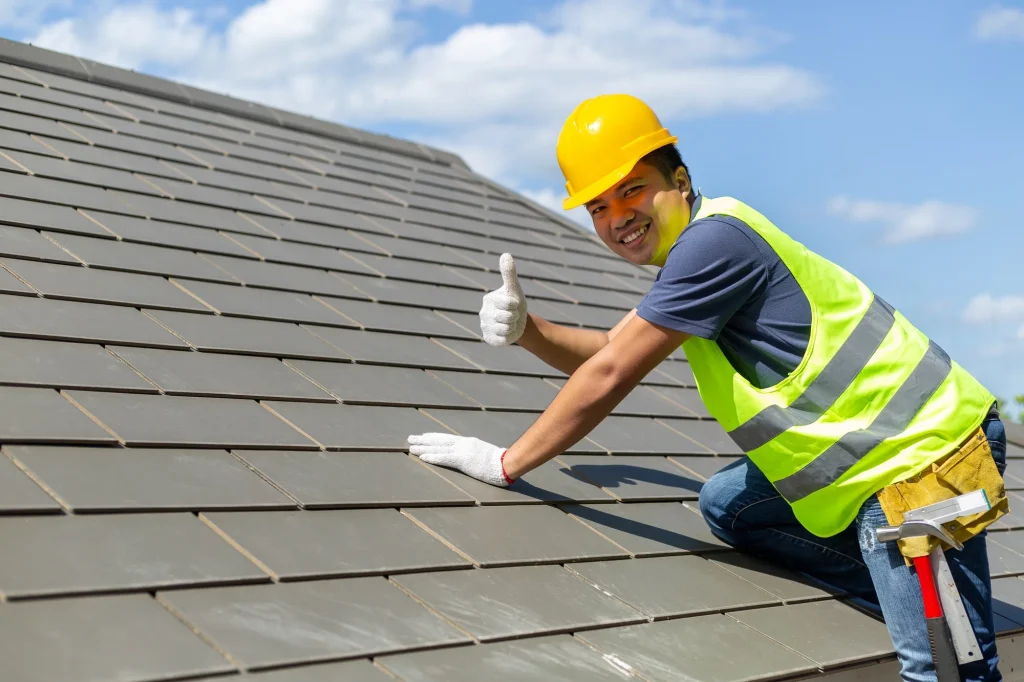
4. When to Hire a Professional
While soffit installation can be a DIY project, consider hiring a professional if you have a complex roofline, discover significant structural damage, or are not comfortable working at heights. A professional contractor like Miller’s Roofing & Siding can ensure the job is done safely and correctly.
Protect Your Investment with Professional Care
Proper soffit installation is a crucial step in protecting your home from the elements, improving energy efficiency, and enhancing its beauty. For homeowners in Minnesota and Northern Wisconsin, ensuring your home is equipped to handle the seasons is not just a choice—it’s a necessity.
At Miller’s Roofing & Siding, we have provided quality workmanship and customer-focused service for over 35 years. As a family-owned business, we treat your home like our own. If you’re considering a new soffit installation or need repairs, trust our experienced, EPA Lead-Safe Certified team to get the job done right.
Ready to protect and beautify your home? Contact us today for a free, no-obligation estimate.