Metal roofing has become increasingly popular among homeowners seeking durable, energy-efficient solutions that can withstand harsh weather conditions. Whether you’re considering a DIY project or want to understand the installation process before hiring professionals, this comprehensive guide will walk you through everything you need to know about how metal roofing is installed.
Installing a metal roof requires careful planning, proper materials, and attention to detail. The process involves several critical steps that ensure your new metal roof provides decades of reliable protection for your home. Understanding these steps will help you make informed decisions about your roofing project and ensure the best possible outcome.
Why Install a Metal Roof?
The Benefits of Metal Roofing for Modern Homes
Metal roofing offers numerous advantages that make it an excellent choice for homeowners. These roofs can last 40-70 years, significantly longer than traditional shingles. The benefits of metal roofing extend beyond longevity—they’re also energy-efficient, reflecting heat to reduce cooling costs during summer months.
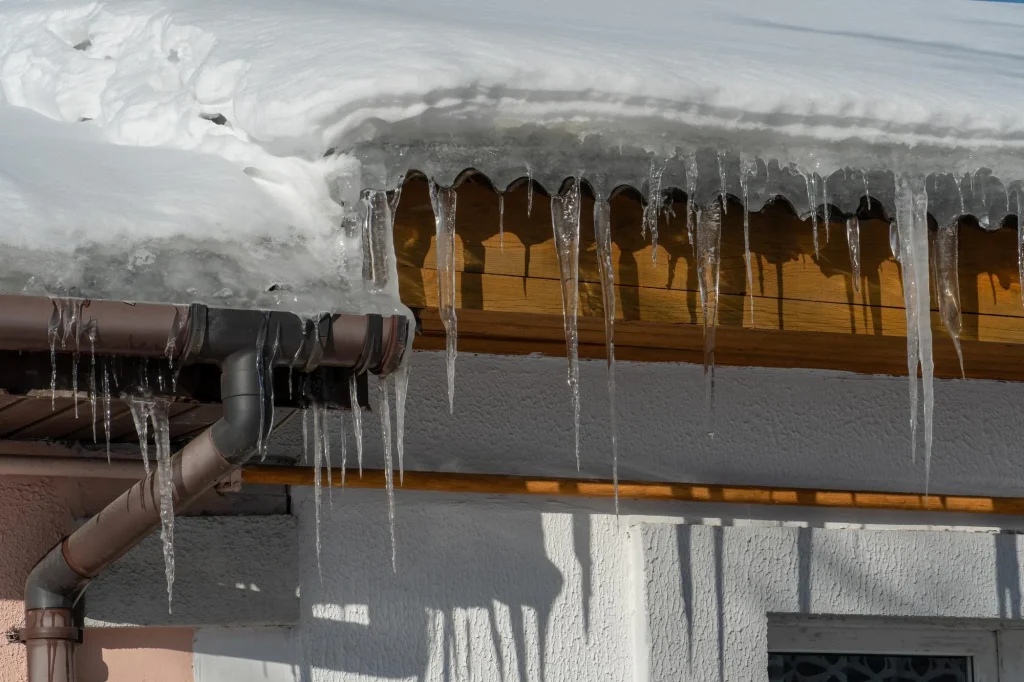
Metal roofs excel in severe weather conditions, resisting wind speeds up to 140 mph and providing excellent protection against hail damage. They’re also fire-resistant and require minimal maintenance compared to other roofing materials.
Drawbacks of Metal Roofs to Consider
While metal roofing offers exceptional benefits, there are some considerations. Initial installation costs are higher than shingle roofs, and metal panels can be noisy during heavy rain or hailstorms. However, proper installation with adequate underlayment can minimize noise concerns.
Understanding Metal Roofing Materials
Types of Metal Roofing (Steel and Aluminum)
The most common types of metal roofing materials include steel and aluminum panels. Steel roofs offer superior durability and are often coated with zinc or aluminum-zinc alloys for corrosion resistance. Aluminum roofing is naturally corrosion-resistant and lighter in weight, making it ideal for certain applications.
Standing seam metal roofing represents the premium option, featuring raised seams that interlock panels without exposed fasteners. Corrugated metal panels provide an economical alternative while still delivering excellent weather protection.
Choosing the Right Type of Metal Roofing for Your Home
Selecting the right type of metal roofing depends on your climate, budget, and aesthetic preferences. Standing seam metal roofs work best for homes in areas with heavy snow loads, while corrugated panels suit agricultural buildings or rustic home designs.
Consider your roof’s slope when choosing metal roofing material. Low-slope roofs require standing seam systems, while steeper roofs can accommodate various panel types.
How Do Polycarbonate Roof Panels Differ from Metal Roof Panels?
While not technically metal, polycarbonate panels are sometimes used alongside metal roofing systems. These transparent or translucent panels allow natural light while maintaining weather protection. However, they lack the durability and longevity of metal roof panels.
Preparing for Metal Roof Installation
What to Know Before Starting Your DIY Metal Roof Installation
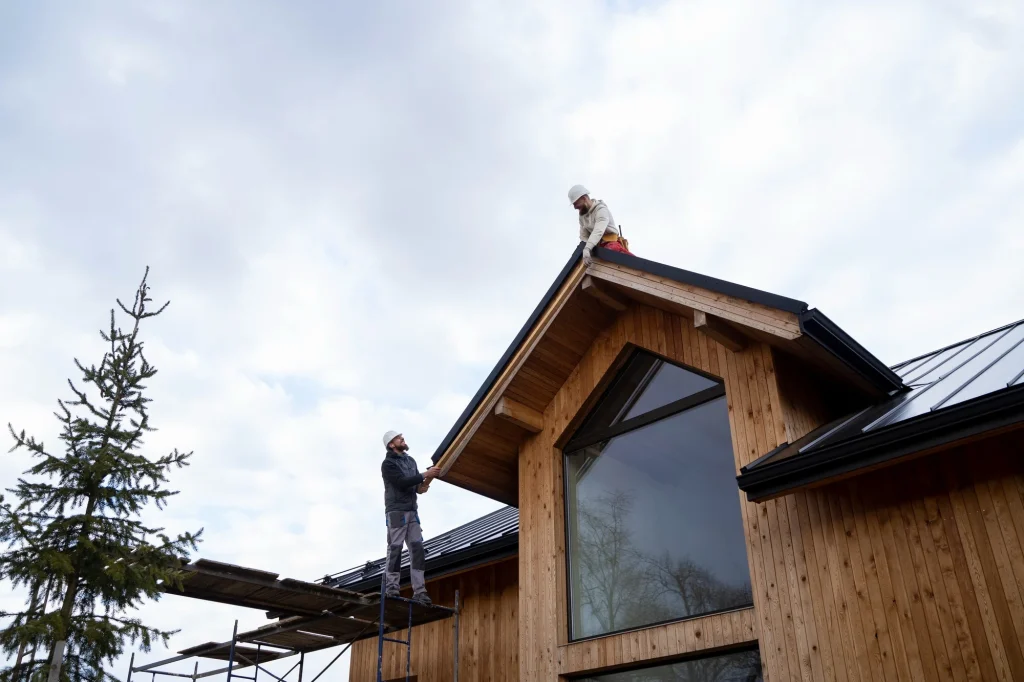
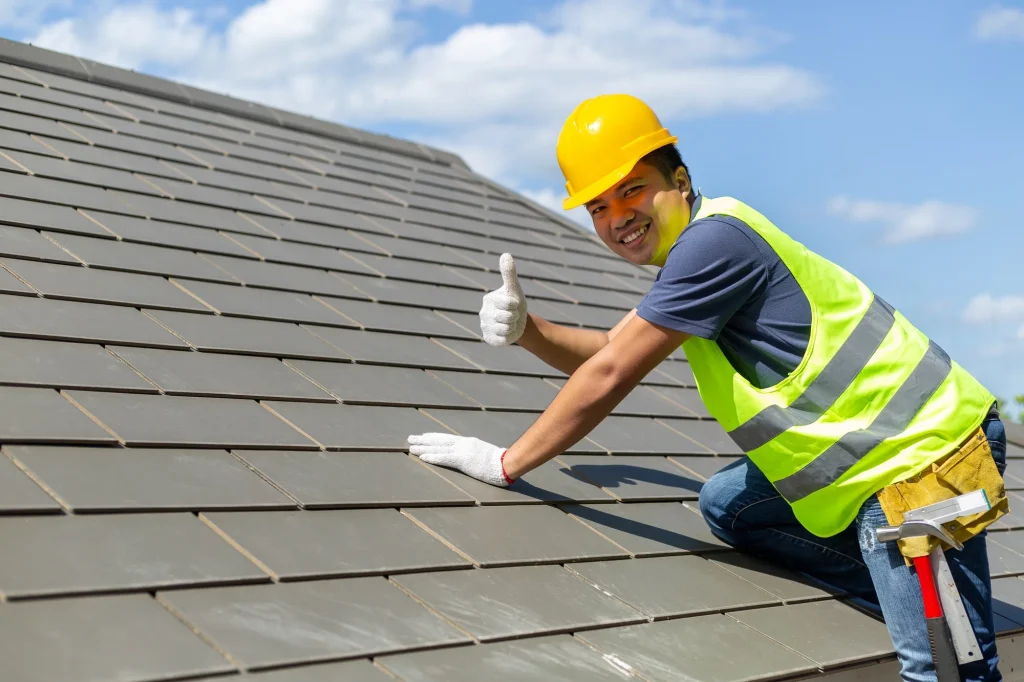
Before installing metal roofing yourself, assess your skills and comfort level with heights. Metal roof installation requires precision and safety equipment. Consider hiring professional roofing contractors for complex roof shapes or if you lack experience with roofing projects.
Check local building codes and permit requirements before beginning your installation process. Some areas require professional installation or specific materials for metal roofing systems.
Essential Tools and Materials for Installing Metal Roofing
Gather these essential tools before starting your roofing project:
- Metal cutting snips or a circular saw with a metal cutting blade
- Drill with magnetic bit holder
- Roofing screws designed for metal panels
- Chalk line for marking straight lines
- Safety equipment, including harnesses and non-slip shoes
- Measuring tape and square
Remove Old Roofing and Repair Any Damage
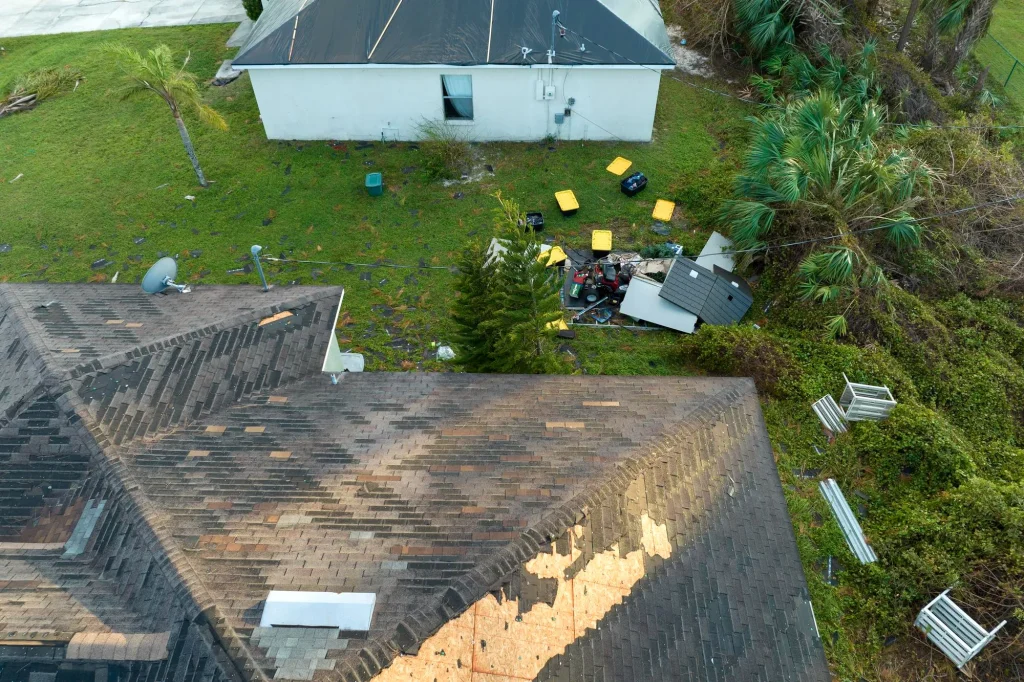
Start by removing the old roofing material and inspecting the roof deck for damage. While you can install metal roofing over existing shingles in some cases, removing old roofing material allows for better inspection and repair of the roof surface.
Address any damaged decking, replace rotted boards, and ensure the roof structure can support your new metal roof. This step is crucial for a properly installed metal roof that will last decades.
Install a Waterproof Underlayment for Protection
Installing a layer of roofing underlayment provides additional protection against water infiltration. Use high-quality synthetic underlayment designed for metal roofing applications. This underlayment to protect the roof deck should extend beyond the roof edge and overlap according to manufacturer’s specifications.
Step-by-Step Metal Roofing Installation
Step 1: Measure and Prep the Roof
Begin by measuring the length of each roof section accurately. Metal panels should extend slightly beyond the roof edge to ensure proper water drainage. Mark panel locations using a chalk line to maintain straight, parallel installation.
Calculate the number of panels needed, accounting for waste and overlaps. Order panels slightly longer than your measurements to allow for proper overhang at the roof edge.
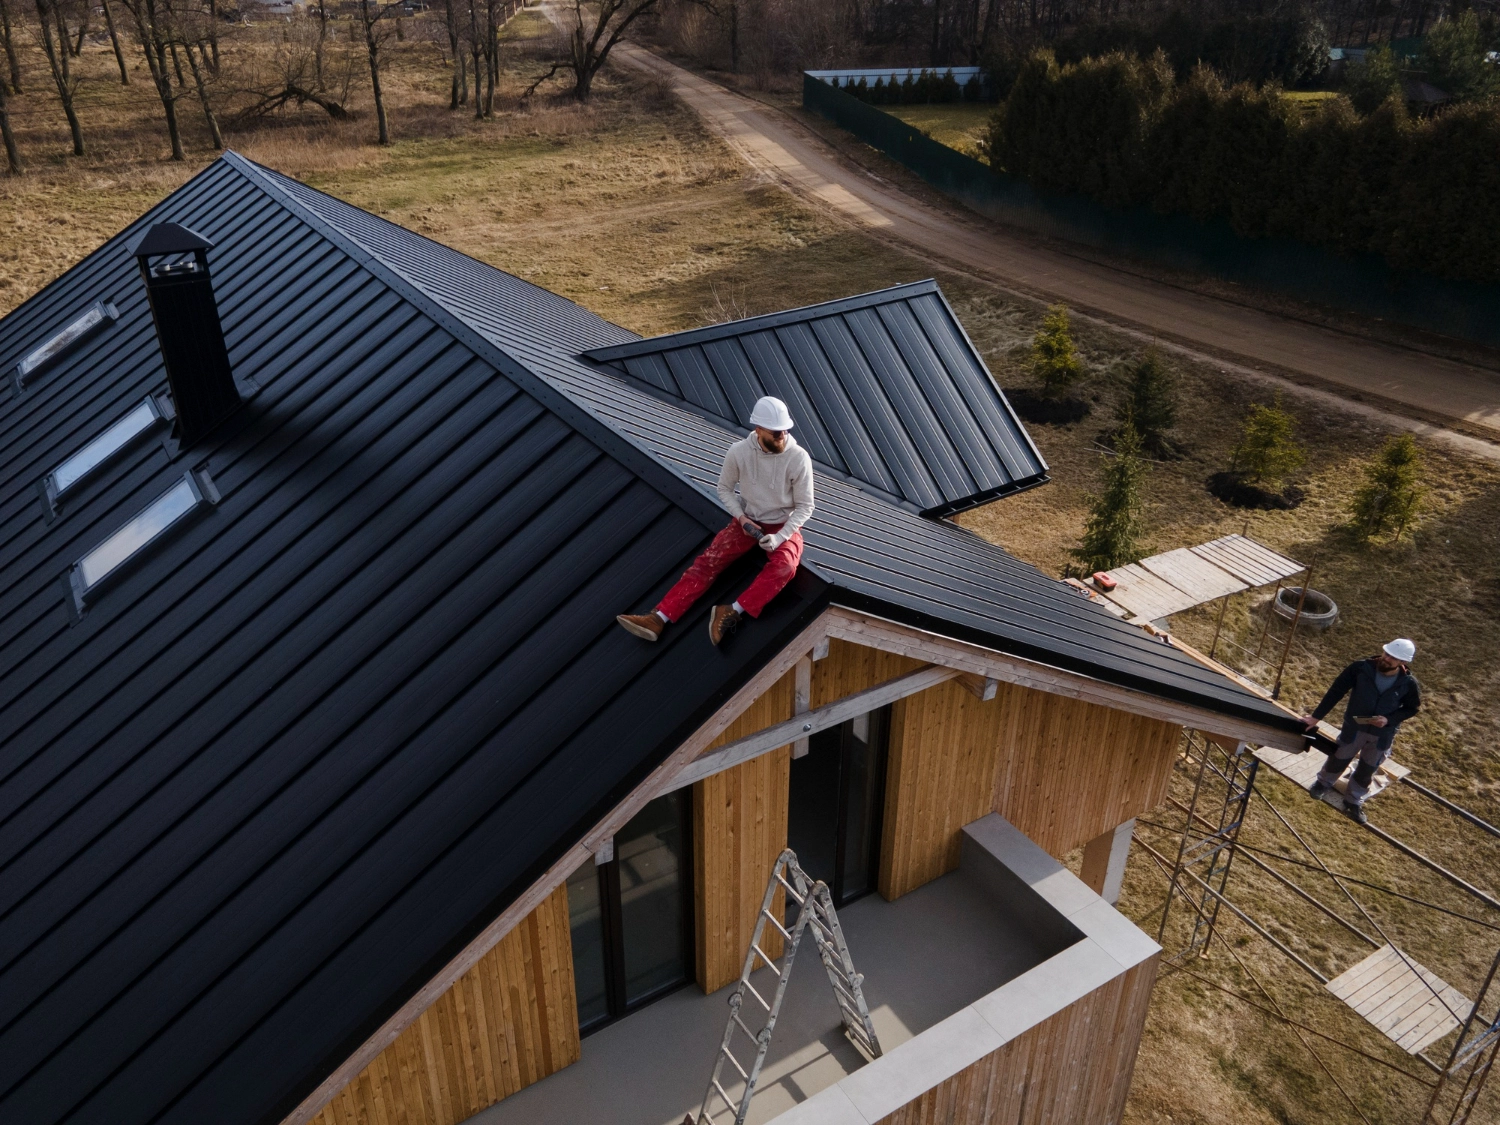
Step 2: Choose and Install the Right Type of Metal Roofing
Start installing the metal panels at the bottom corner of the roof, ensuring the first panel is perfectly square with the roof edge. Each subsequent panel should overlap the previous one according to manufacturer specifications—typically 1-2 inches for side laps.
Step 3: Secure the Roof with Fasteners and Screws
Use appropriate roofing screws designed for your specific metal roofing material. Install fasteners through the flat areas of corrugated panels, not the raised ribs. For standing seam systems, use hidden fasteners that attach to the roof deck through clips.
Space fasteners according to manufacturer recommendations, typically every 12-24 inches along panel edges and every 24 inches in the field. Avoid over-tightening screws, which can damage the metal panels.
Step 4: Add Roofing Components for a Complete Installation
Install ridge caps, trim pieces, and flashing to complete your metal roof system. These components prevent water infiltration at areas where the roof meets walls, chimneys, or other penetrations. Use roofing sealant along the seams where necessary to ensure a watertight installation.
Step 5: Install Metal Panels Properly
Continue installing the metal roof panels, maintaining consistent overlap and alignment. Cut panels as needed using appropriate tools designed for cutting metal. Take care to maintain straight lines and proper spacing between panels.
Step 6: Seal Edges and Check for Gaps
Apply roofing sealant to panel overlaps and around penetrations. Check for gaps that could allow water entry and seal them appropriately. Install gutter systems if needed to direct water away from the roof.
Step 7: Inspect Your New Metal Roof
Perform a thorough inspection of your completed metal roof installation. Check all fasteners, seams, and trim pieces. Ensure proper drainage and verify that all components are securely attached.
Common Mistakes to Avoid During Metal Roof Installation
Issues with Incorrect Fasteners
Using the wrong fasteners is among the most common installation errors. Always use fasteners specifically designed for your metal roofing material. Stainless steel or galvanized fasteners prevent corrosion and ensure long-term performance.
Overlooking Roof Panel Alignment
Maintaining proper panel alignment throughout the installation process ensures both aesthetic appeal and weather protection. Use chalk lines and measuring tools consistently to maintain straight, parallel panel installation.
Forgetting to Inspect Old Roof Damage
Failing to address existing roof damage before installing metal roofing can lead to premature failure. Always inspect and repair the roof deck, replace damaged areas, and ensure proper structural support.
Metal Roof Maintenance and Care
Routine Inspections and Cleaning
Regular maintenance extends your metal roof’s lifespan significantly. Inspect your roof annually for loose fasteners, damaged panels, or clogged gutters. Clean debris from roof surfaces and gutters to prevent water buildup.
Maintenance Tips for Flat Metal Roofs
Flat metal roofs require special attention to drainage systems. Ensure all drains remain clear and check for ponding water after storms. Apply appropriate coatings as recommended by manufacturers to maintain weather resistance.
How to Ensure a Metal Roof Lasts a Lifetime
With proper installation and maintenance, a properly installed metal roof can protect your home for decades. Address minor issues promptly, maintain proper drainage, and follow manufacturer recommendations for care and maintenance.
Expert Metal Roof Installation with Miller’s Roofing
Professional Installation Services You Can Trust
While DIY metal roof installation is possible, professional installation ensures optimal performance and longevity. Miller’s Roofing brings over 35 years of experience to every metal roofing project, providing expert installation services you can trust.
Our family-owned business understands the unique challenges of Minnesota and Wisconsin weather conditions. We’re EPA Lead-Safe Certified and BBB accredited, demonstrating our commitment to quality and safety.
High-Quality Metal Roof Panels and Materials
We proudly offer premium metal roofing products from trusted manufacturers, including EDCO, Metal Sales, and Dakota Steel. Our high-quality materials ensure your investment provides decades of reliable protection while enhancing your home’s energy efficiency and curb appeal.
Contact Miller’s Roofing Today for a Free Quote
Ready to experience the benefits of professional metal roof installation? Contact Miller’s Roofing today for your free, no-obligation estimate. Our experienced team will assess your roofing needs and recommend the best metal roofing solution for your home.
Call us at 218-269-1169 or visit our website to schedule your consultation. Let our family-owned business provide the quality installation and peace of mind you deserve for your most important investment—your home.